

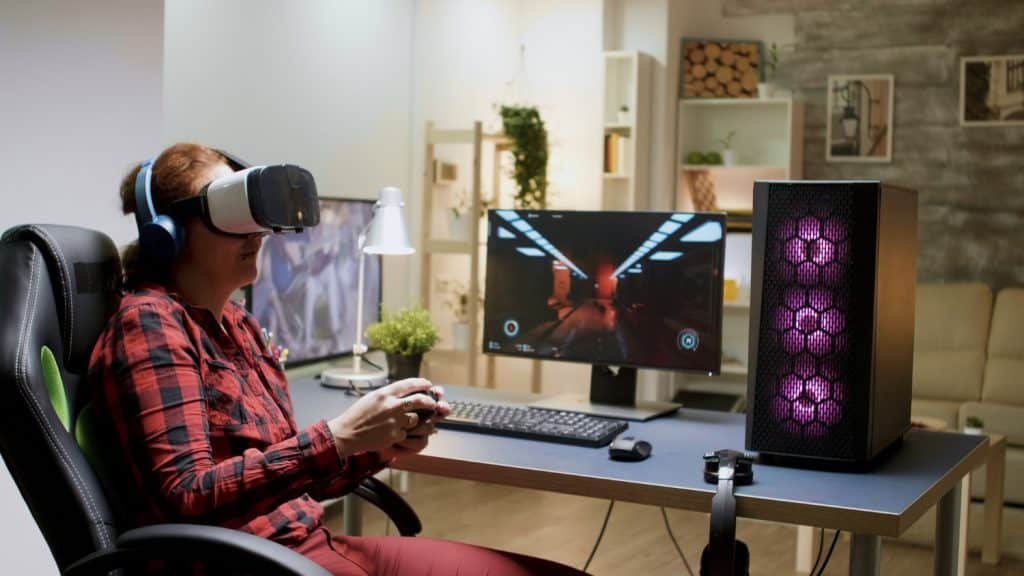
A Guide to Building Your Gaming PC
Hey there, gaming enthusiast! Are you tired of playing on a pre-built PC that doesn’t quite meet your gaming expectations? Well, it’s time to take matters into your own hands and build your gaming rig. Don’t worry; I’ve got your back, and we’ll embark on this DIY journey together.
The Thrill of Building Your Gaming PC
Building a gaming PC is like assembling your dream car from scratch. You can handpick every component, ensuring your system meets and exceeds your gaming needs. Plus, the satisfaction of saying, “I built this,” is hard to beat.
Step 1: Define Your Gaming Goals
Before we dive into the nitty-gritty, let’s define your gaming goals. Are you a hardcore gamer looking for top-tier performance, or are you more of a casual gamer with a budget in mind? Knowing your goals will guide your component choices.
Step 2: Choose Your Weapon – The CPU and GPU
Your CPU (Central Processing Unit) and GPU (Graphics Processing Unit) are the heart and soul of your gaming PC. Think of them as the engine and transmission of your gaming car. Invest here for a smooth gaming experience.
Step 3: Motherboard Matters
The motherboard is like your car’s chassis—it holds everything together. Ensure compatibility with your CPU and GPU choices. Don’t forget about future expansion options.
Step 4: RAM – The Memory Boost
RAM (Random Access Memory) is your PC’s short-term memory. More RAM means smoother multitasking. It’s like having a bigger workspace to spread out your gaming tools.
Step 5: Storage Solutions
An SSD (Solid State Drive) and frequently played games are necessary for your OS. It’s like having a turbo boost for load times. Consider adding an HDD (Hard Disk Drive) for bulk storage.
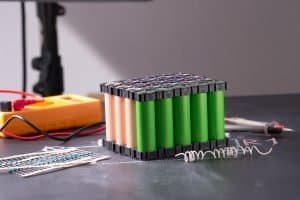
Step 6: Power Supply – Fueling Your Rig
Think of the power supply as the fuel tank of your car. Get a reliable PSU (Power Supply Unit) to handle your components. Overkill here is better than underkill.
Step 7: Keep It Cool
A sound cooling system is like an efficient radiator in your car. Prevent overheating with proper cooling solutions—air or liquid, your choice.
Step 8: The Right Case
Your PC case is the body of your gaming car. Choose one that fits your components and has good airflow—bonus points for an excellent case.
Step 9: Peripherals and Monitor
Remember your gaming peripherals and a high-refresh-rate monitor. They’re like the perfect steering wheel and racing tyres for your car.
Step 10: Assembly Time
Assembling your PC is like putting together a giant puzzle. Follow component manuals and online guides. It’s simpler than it looks.
Step 11: Installation and Drivers
Install your OS, drivers, and essential software. It’s like customizing your car’s interior—make it your own.
Step 12: Power On!
Press that power button and behold your creation! It’s like firing up your car’s engine for the first time.
Conclusion: You’re the Master Builder
Congratulations, you’ve built your gaming masterpiece! Remember, building a gaming PC is a learning experience. Feel free to ask for help or consult online communities. Your custom-built rig is ready to conquer virtual worlds, and you did it all by yourself.
So, rev up your gaming engine and enjoy the fruits of your labour. Happy gaming, and may your frame rates be high and your temperatures low!
Stay tuned to Magque for more tech DIY guides, gaming tips, and everything that makes your gaming heart skip a beat. Game on!
Read Also:


