
Introduction
In the ever-evolving world of PC gaming, keeping your system up to date is crucial. One vital component for optimal gaming performance is DirectX. DirectX is a collection of APIs (Application Programming Interfaces) developed by Microsoft to handle multimedia and gaming tasks on Windows operating systems. If you’re using Windows 11, you must have the latest DirectX version to enjoy the best gaming experience. This guide will walk you through the steps to update DirectX on Windows 11.
Understanding DirectX
What Is DirectX?
DirectX is a set of APIs designed to facilitate the handling of multimedia and gaming tasks on Windows-based systems. It’s crucial for rendering graphics, managing audio, and improving overall games and multimedia applications’ performance.
Importance of DirectX Updates
DirectX updates often include bug fixes, performance enhancements, and new features that significantly improving your gaming experience. Outdated versions may lead to compatibility issues and reduced performance.
How To Update DirectX on Windows 11
To ensure you have the latest DirectX version on your Windows 11 system, follow these steps:
1. Check Your Current DirectX Version
Before updating, you must know which version of DirectX you currently have. To check, follow these steps:
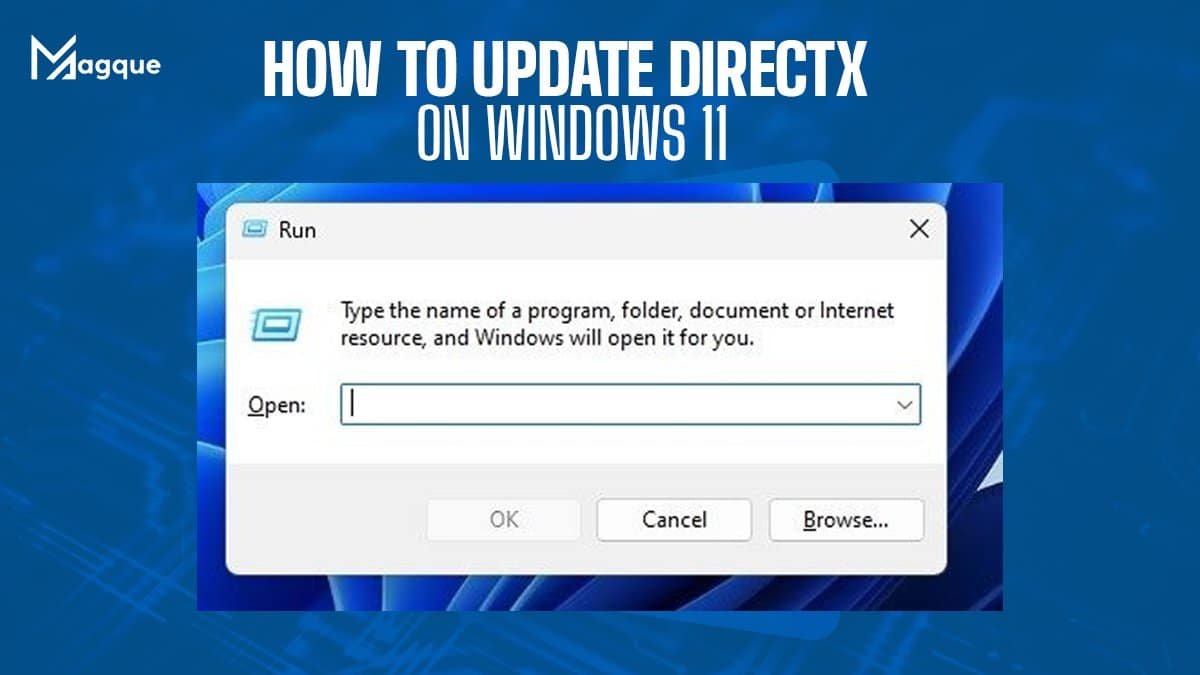
- Press
Windows + Rto open the Run dialogue. - Type “dxdiag” and press Enter.
- In the “DirectX Diagnostic Tool” window, you’ll find your current DirectX version under the “System” tab.
2. Visit the Official Microsoft Website
Head to the official Microsoft website (https://www.microsoft.com/en-us/download/details.aspx?id=35) to download the latest DirectX version.
3. Download DirectX
On the Microsoft page, click on the “Download” button. This will initiate the downloading of the DirectX Installer.
4. Run the Installer
Once the download is complete, run the installer. Follow the on-screen instructions to complete the installation process.
5. Restart Your System
After the installation, it’s a good practice to restart your system to ensure the changes take effect.
6. Verify the Update
To confirm that you have successfully updated DirectX, repeat the first step and check the DirectX version in the “DirectX Diagnostic Tool.” It should now display the latest version.
Frequently Asked Questions (FAQs)
1. Is DirectX Necessary for Gaming on Windows 11?
Absolutely. DirectX is crucial for gaming on Windows 11 as it handles graphics and audio rendering, providing a seamless gaming experience.
2. How often Should I Update DirectX?
It’s a good practice to check for updates periodically, especially if you’re experiencing issues with your games or multimedia applications.
3. Can I roll back to a previous DirectX Version if I Encounter Problems with the Update?
You can uninstall the current version and reinstall an older version if necessary. However, it’s recommended to seek support for troubleshooting issues before downgrading.
4. Does DirectX Affect Non-Gaming Applications?
Yes, DirectX also plays a role in multimedia applications, so keeping it up to date is essential for a better overall computing experience.
5. Are there any Alternatives to DirectX for Gaming on Windows?
While DirectX is the most widely used, some games may support other APIs like Vulkan. However, DirectX remains the primary choice for most Windows-based games.
Conclusion
Keeping DirectX updated on your Windows 11 system is a straightforward process that can significantly enhance your gaming and multimedia experiences. By following the steps outlined in this guide, you’ll ensure that you’re always running the latest version of DirectX, enjoying improved performance and compatibility. Visit Here :- All Computer Noises You Should Never Ignore


