


Upgrading to Windows 11: A Step-by-Step Guide for Users
Hey there, fellow Windows enthusiasts! Ready to take the leap and upgrade to the shiny new Windows 11? Buckle up because I’ve got your back with a step-by-step guide to smooth the transition. So, grab your favourite beverage, sit back, and let’s dive in!
1. Check Your System Requirements
Before you start the upgrade process, you must ensure your PC meets the minimum system requirements for Windows 11. Check factors like processor compatibility, RAM, storage space, and TPM (Trusted Platform Module) version. If your system falls short, don’t worry – I have some tips for you later.
2. Backup Your Data
Now that you’ve confirmed your system is ready for Windows 11, it’s time to play it safe and back up your important data. Whether you prefer using an external hard drive, cloud storage, or a combination of both, ensure all your files, photos, and documents are safely stored away before upgrading.
3. Reserve Your Upgrade
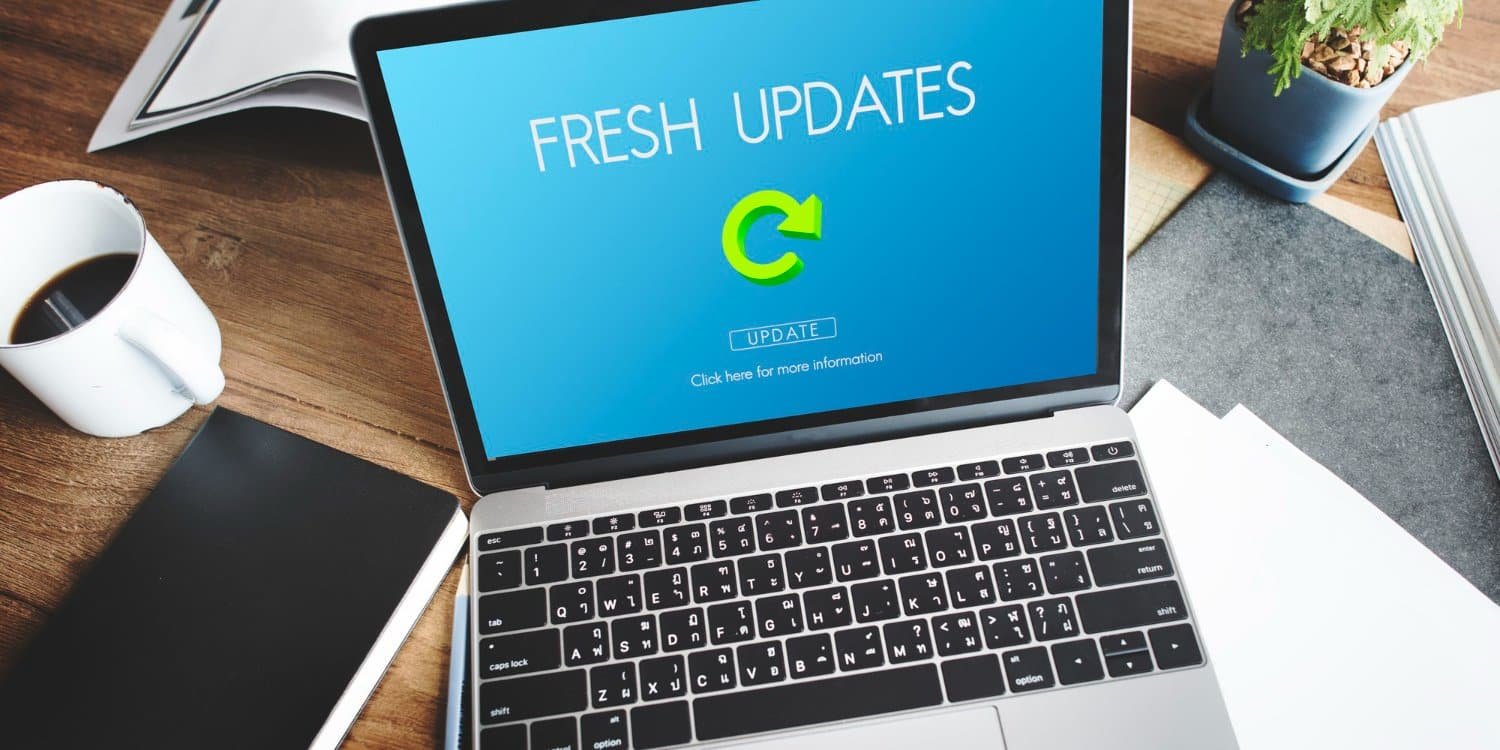
Microsoft is rolling out Windows 11 in waves so that you might see the upgrade option later. Fear not – you can reserve your upgrade by heading to Settings > Update & Security > Windows Update and clicking “Check for updates.” You’ll receive a notification once the upgrade is available for your device.
4. Download and Install Windows 11
When the upgrade is ready to roll, it’s time to download and install Windows 11. Follow the prompts on your screen, and the installation wizard will guide you through the process. Read each prompt carefully and choose the options that best suit your preferences.
5. Customize Your Settings
Once Windows 11 is up and running, it’s time to make it your own. Take a few minutes to customize your settings, such as your desktop background, theme colours, and privacy preferences. Don’t forget to explore the new features and enhancements that Windows 11 offers – it’s like unwrapping a present on your birthday!
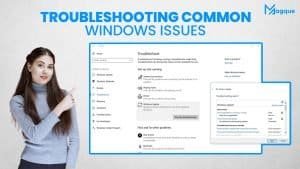
6. Troubleshooting Tips
Are you encountering any hiccups along the way? Don’t panic – I’ve got some troubleshooting tips to help you. If you’re struggling with upgrading, try restarting your PC and running the Windows Update troubleshooter. You can also check for driver updates and ensure your antivirus software is current.
7. Enjoy Your New Windows 11 Experience
Congratulations – you’ve successfully upgraded to Windows 11! Now it’s time to sit back, relax, and enjoy all the new features and improvements that Windows 11 offers. From the sleek new user interface to enhanced performance and security, there’s a lot to love about the latest version of Windows.
So, there you have it – a step-by-step guide to upgrading to Windows 11. I hope this article has helped ease any concerns you may have had about the upgrade process. Now go ahead and embrace the future of Windows – you won’t regret it!
Read Also:


